Article Date: 01/08/19
Something I've been meaning to do for a long time now since getting my new car was Hardwire the Dashcam directly to a switched live circuit. Not only does this look neater, it allows you to have a permanent installation power source for the dashcam whilst not draining the battery. I always intended on doing this to the Golf, but my situation was screwed up after the crash. In this article I am using the Nextbase Hardwiring Kit for a Dashcam which allows me to permanently hardwire my Nextbase 402G Dashcam into the car, so I don't have ot keep using the 12v Cigarette lighter socket.
Please note this procedure is specific to the car I currently own (Nissan Almera N16), however the procedure in general is pretty much the same for all cars. Once you've removed all the panelling, it's just a case of finding where to route your cables and where wire up your power/earth leads. This will take approximately 30 mins.
You will also need a Dashcam Hardwiring Kit { eBay Link }. I prefer this one because it comes with the hardwiring kit, all 3 types of common fuse, and all 3 individual fuse power feeds. Which is useful as it means you've got the right selection of fuses / power connectors whatever car you own
If you have found an Earth point the multimeter will beep. All that you are doing here is finding a "ground", a piece of metal that is directly attached to the metal of the car. This gives you a ground point for electronics
This method identifies the "switched live" source, a permanent live would always get 12v regardless if the keys were in the ignition or not. A switched live will only give voltage when the keys are in the ignition and turned to a position that gives power (like ACC for Accessories). If you want to be extra safe, go through all the circuits and compare it against your car owners manual, find a non-critical fuse such as a Cigarette Lighter, Rear Wiper, Heated Mirror circuit. Something that if the fuses blow for both circuits you can still safely get home without issue.
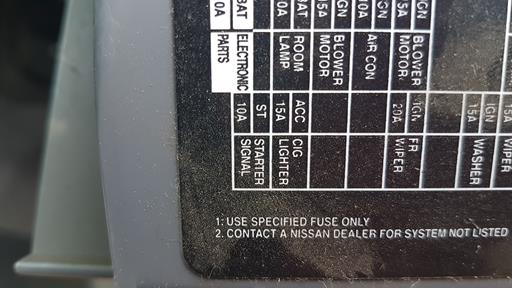
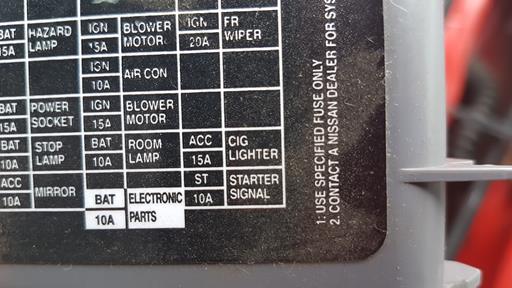
I did the same procedure above, in this guide I'm using the "Cig Lighter" circuit. As you can see on the Nissan it actually gives a description above the amp rating which saves time. Although I checked with the meter to make sure anyway. ACC = Accesories (+12V Switched) / BAT = Permanent (+12V "Hot" Live)
The picture on the left is how the fuses are positioned as you look at them, then picture on the right is the fuse I'm using (2nd off right). Now the connection points have been identified we can proceed with hardwiring


This procedure wasn't really needed for my car, because I had no airbag, but it's always good practice to follow whenever you're working around 12v and Electronics. You don't have to do this, but I recommend it, removing the keys from the ignition only disables the switched live circuits. You still have some +12v circuits and if you short these you can cause a fire. If you have any doubt about your abilities consult a professional. You can get them fitted at Halfords for as little as £30. This guide assumes that you're confident enough to work around Electronics of a car safely
Pop the bonnet, open the car door (or lower window so you have access) and disconnect the battery terminal ( Make sure you have the RADIO CODE! ). With the battery disconnected, either short ther two terminals together (Positive / Negative) or hold your foot on the brake. This procedure will discharge any remaining electrical charge reducing the risk of you setting off Airbags
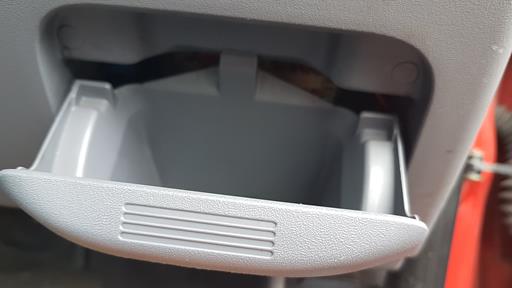
Removal the storage cover under the car. This is done by pulling it towards you and then pushing the little tab in as you pull it down. Remove it entirely
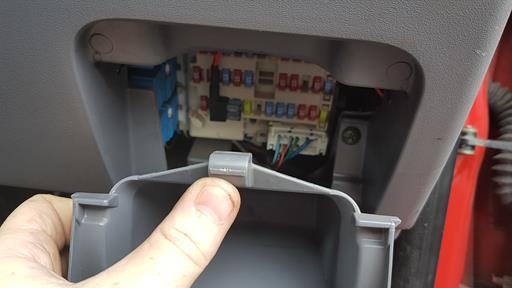
Remove the A-pillar trim by prising it away from the car. You may find it easier by going under the rubber that runs along the door. Pull it off one bit at a time working from the top
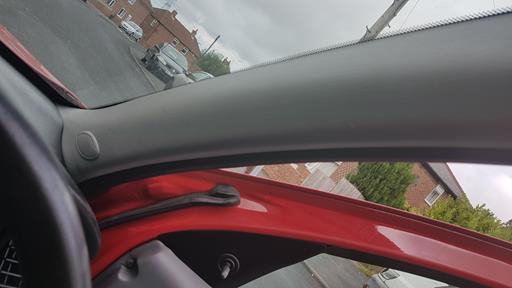
Remove the lower column shroud to give easier access, there are 2 screws (shown here), one sits to the left of the OBD port, 1 sits behind the storage cover to the right of the fuse box
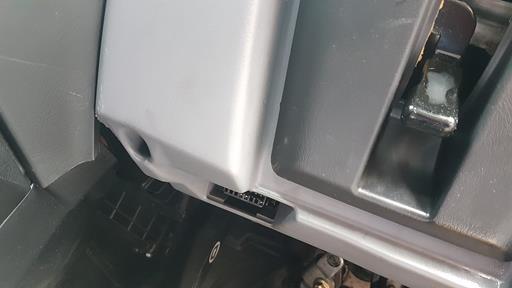
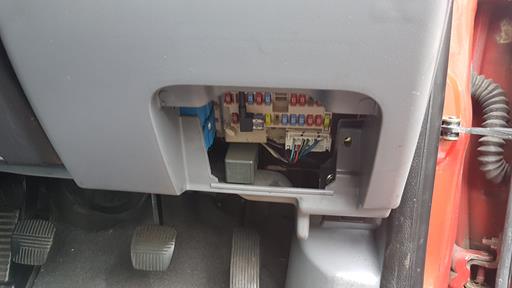
Once these are removed, it's just a case of pulling it downwards (you can be a bit rough with this), put a screwdriver in the side of the OBD connector and prise it upwards as you push it in
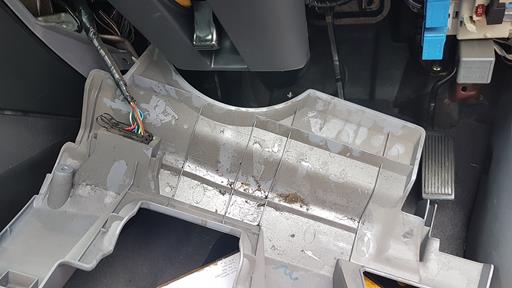
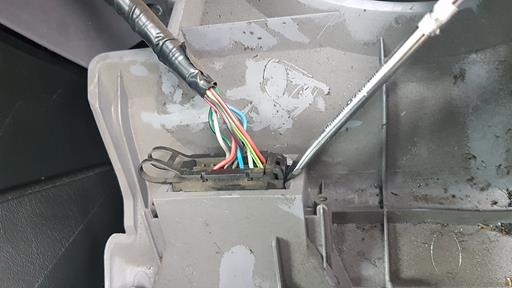
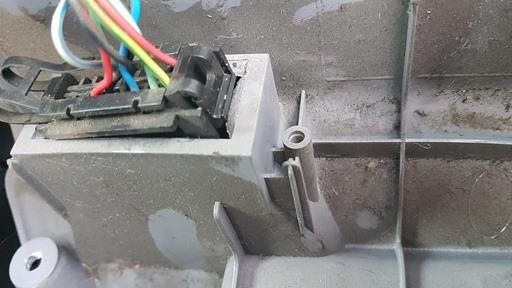
You have now finished removing all the trim required to get access to installation of the Dashcam hardwiring kit in your Nissan Almera and will be able to work easier
CABLE ROUTING
Install the cable for the hardwiring kit down the A-pillar, I ran it alongside another cable (off-hand I think this is the Aerial Wire). I secured it in place temporarily with duct tape. At the bottom of the A-pillar where the tweeter is, there is a hole where the cables run-through, you can feed through the hardwiring kit at this point. If you look up from the fuses from underneath, you will be able to see it and reach inside to pull it through
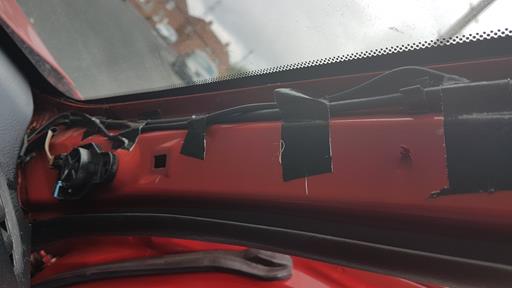
Feed the rest of the wiring under the headlining and towards your dashcam. The headlining can just be pulled down and fed over the cabling. Leave enough to get to your dashcam. Once you have reached it, the rest should be bundled up with wire straps near your fuses to keep it all safe and secure
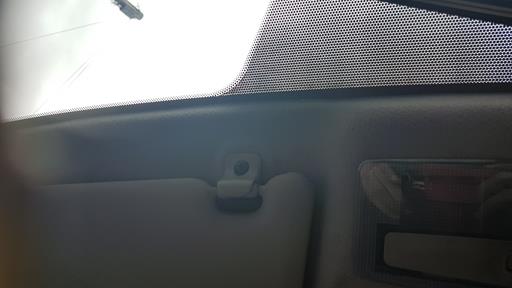
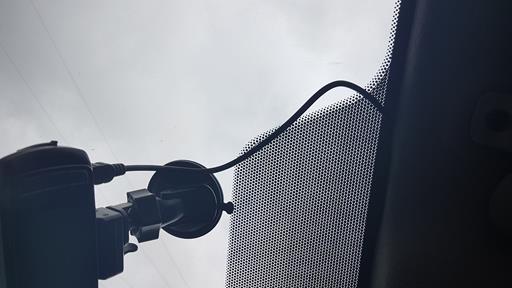
You have now finished all the cable routing required to hardwire the dashcam
FUSE INSTALLATION
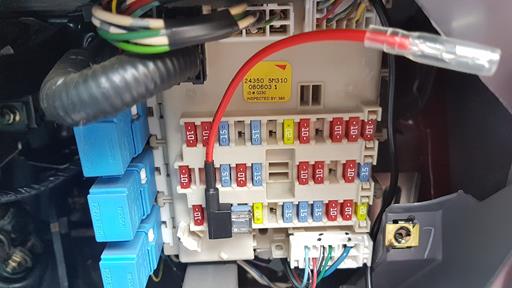
Using the correct power lead for the car (off-hand I think it's called the Mini-Blade), it's the middle sized one between smallest and largest), install the fuse for the dashcam. Make sure it's in the CORRECT position. Contrary to belief there is a correct position to this. It's shown below. Power travels through the 15A fuse and is "tapped" to the fuse above it. If you installed the dashcam fuse in the slot below, it would mean if the dashcam fuse failed it would also fail delivering power to whatever was connected above it. The dashcam fuse is always in the slot which is closest to "top" like below. Plug the other end of the cable from the hard wiring kit into the "tap".
I added some extra heatshrink to protect it. As I don't plan on removing the kit from the car
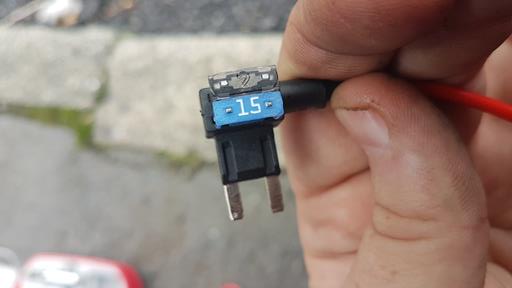
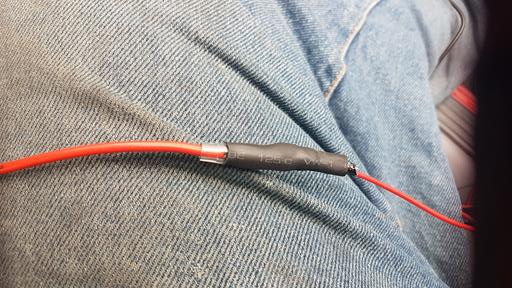
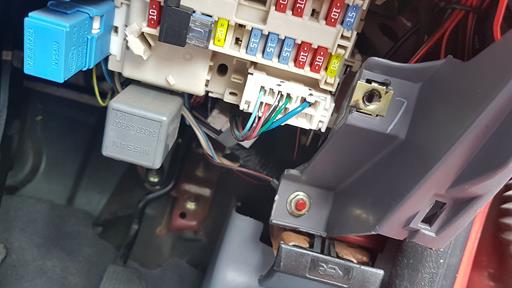
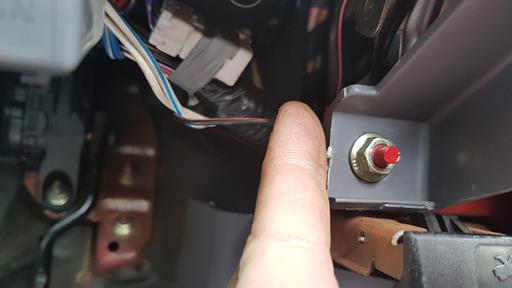
Install the fuse into the car. After you have done this, remove a bodywork screw and attach the ground from the hardwiring kit through the ring terminal attach to the ground point. For reference I fed this BEHIND the plastic, as ground points should always be METAL to METAL.
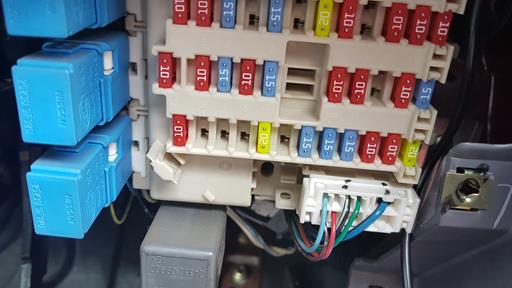
If you had disconnected the battery, reconnect the battery on the car, and put the keys in the ignition then switch it to ACC. Your dashcam should now power up
If all has been done correctly, you just need to reinstall trim (lower shroud, A-pillar and lower storage compartment)
You are now finished. Have a cup of tea