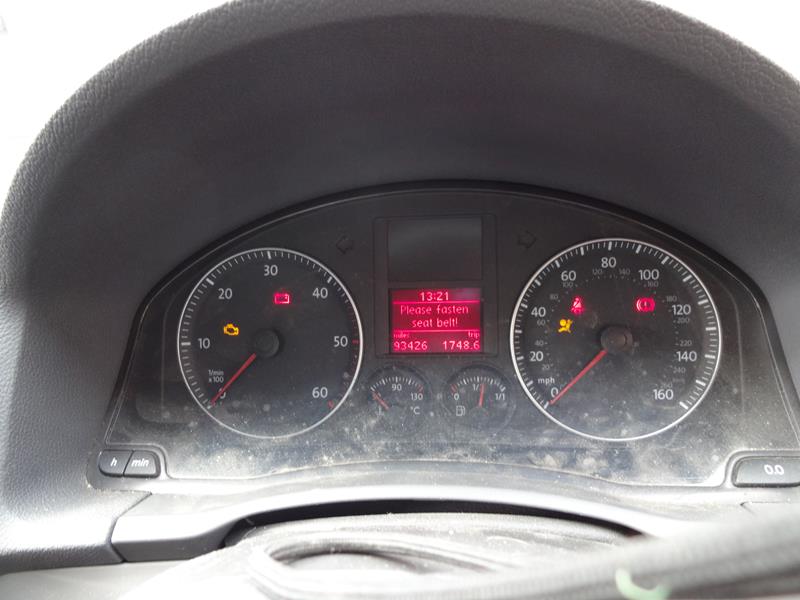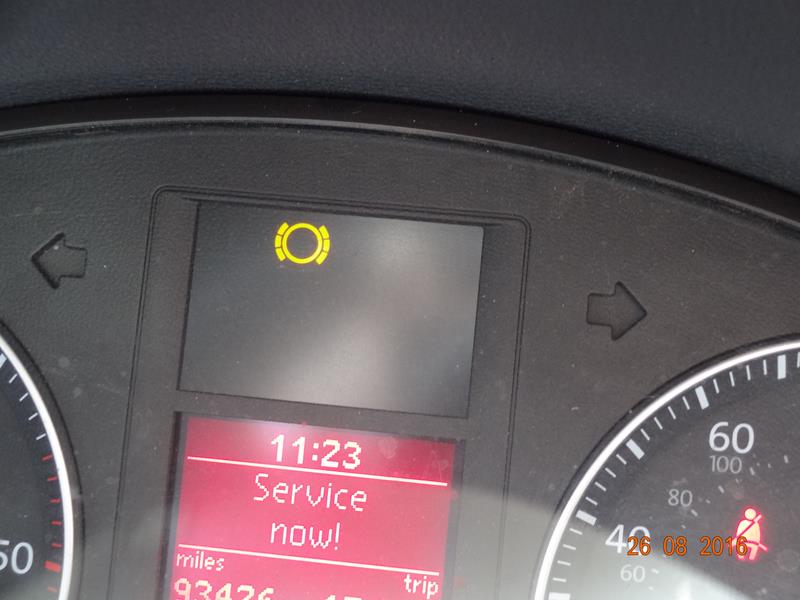
This is generally what the Brake Pad warning sensor looks like when lit up on the dash. When I previously changed my brake pads, the connector broke, the light has been bugging me ever since and I meant to write an article.
As a note.... you can BYPASS the warning by simply joining the wires together. This should only be used as a temporary solution if you need to carry out the repair but don't have time (such as an urgent MOT).... but in any case, if the car fails an MOT because of this you have 10 days to fix it anyway so it's no excuse
I had some free time, so decided to do a write up on the process, so anyone with the same problems has a bit of guidance on repairing their brake pad warning sensors on their VW Golf MK5 or similar car
This is why it's always important to inspect/scan a car thoroughly as you don't know what hidden gremlins there are without having a look around yourself
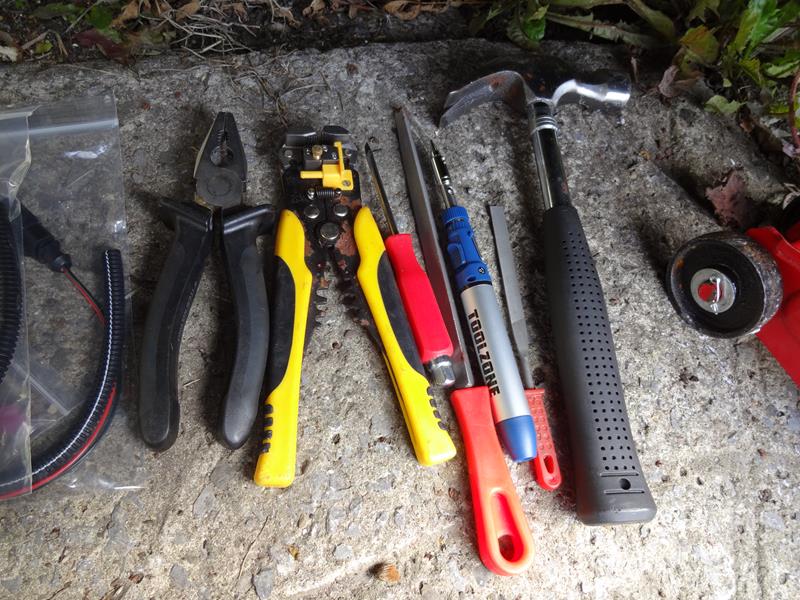
These are the tools required to carry out the repair. Or at least the ones I used
- Hammer
- Flat Head Screwdriver
- Metal Files
- Wire Strippers
- Pliers
- Butane Soldering Iron & Solder
- Metal Files
- Repair Kits (1J0973802 and 1J0973702)
- Car Jack
- Insulation Tape
- Heatshrink
It's a bit awkward, but there should be no reason you need to take off the discs / pads to fix the problem. Unless you have severely buggered your connector for your pads and the wire has snapped off at the pads themselves. In which case, I'd just buy new pads rather than the connector
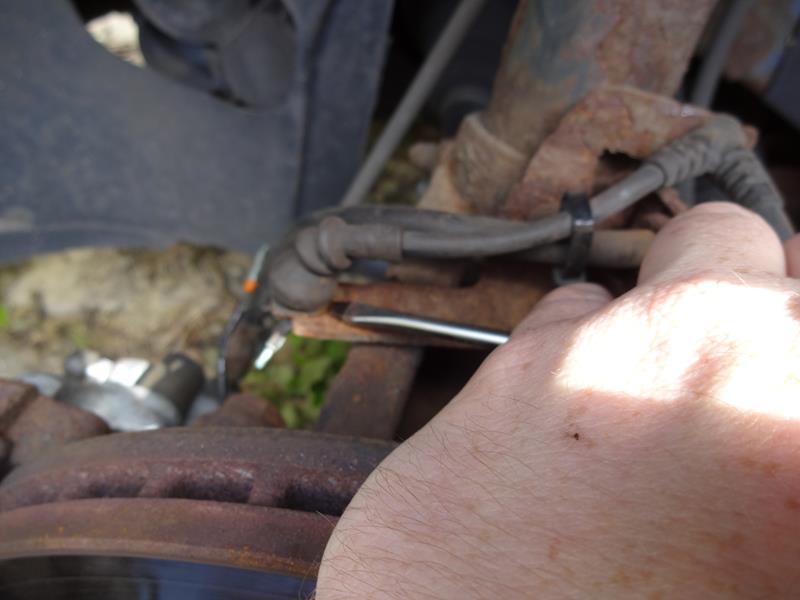
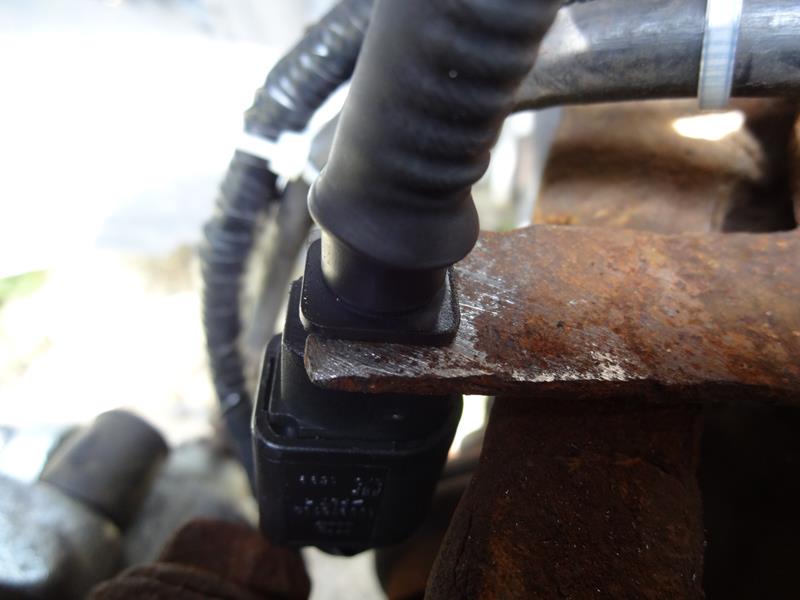
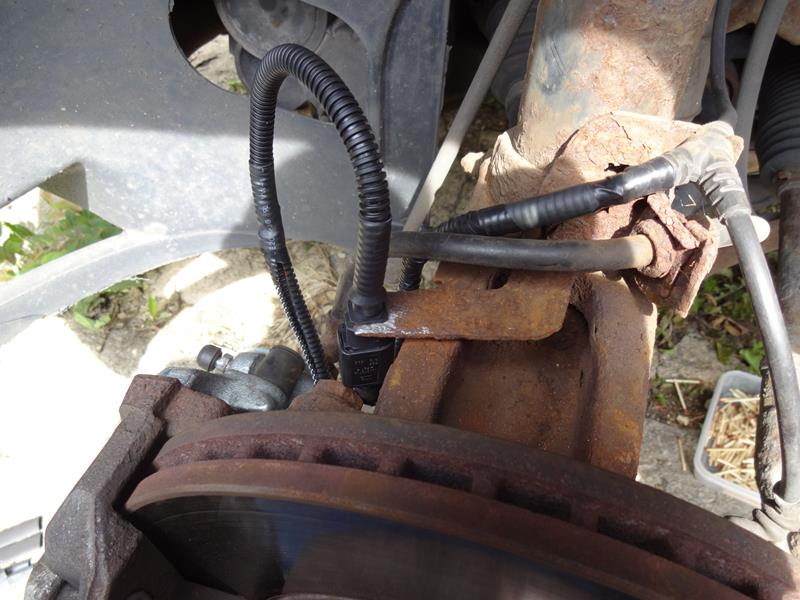
The reason why the connector broke on my car is because the seating position where both connectors are lodged into was filled up with crap. It was rusted all of the rust had hardened up with junk and sealed around the old connector.
Before I did anything, I chiseled away at the old connector to remove it, from the slot. I wanted to tidy it up so the new connector wouldn't have this problem or run the risk of it
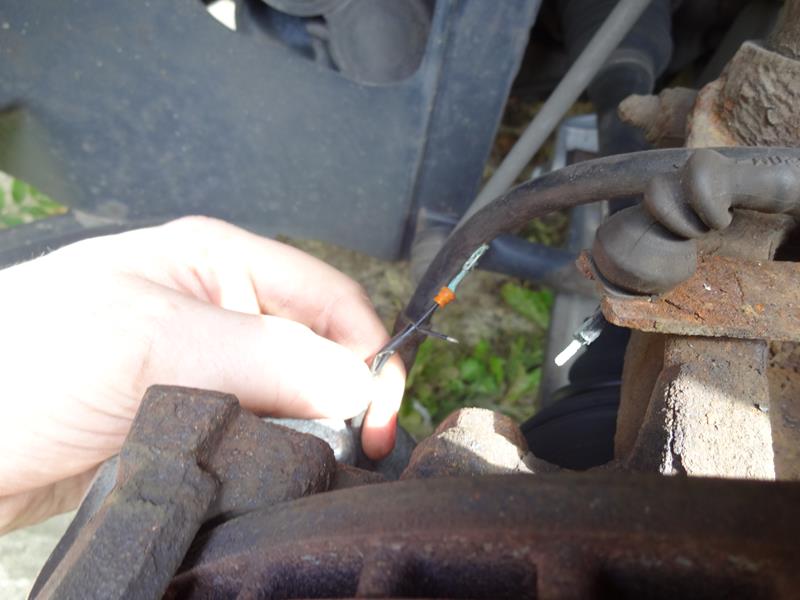
This is the brake connector from the car, as you can see it completely snapped off. So both repairs were needed. The wiring was in very poor condition.
Luckily the kit I purchased came with a large amount of wire to reattach it with, so it gave me room to play should I needed to cut the wires back
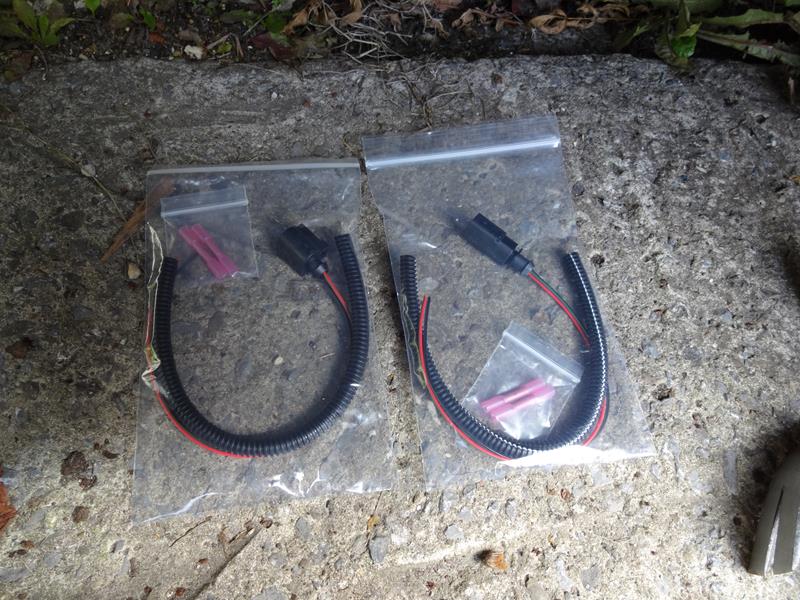
This is a picture of the repair kits used on the vehicle, the ones I purchased came with everything pre-wired up to them. They also came with some heatshrink butt connectors to simplify the repair with some convoluted tubing as a finishing product.
They were well made and I had no problems fitting them. I purchased them from the supplier h2fconnectors2016 on eBay (UK supplier)
I personally decided not to use the heatshrink butt connectors that came with the kit.
Firstly, I didn't like the idea of additional points in the circuit that could potentially cause the light to appear.
Secondly, I didn't want any bulk within the wiring, I wanted a clean look with the repair carried out. So decided I was going to solder the wires.
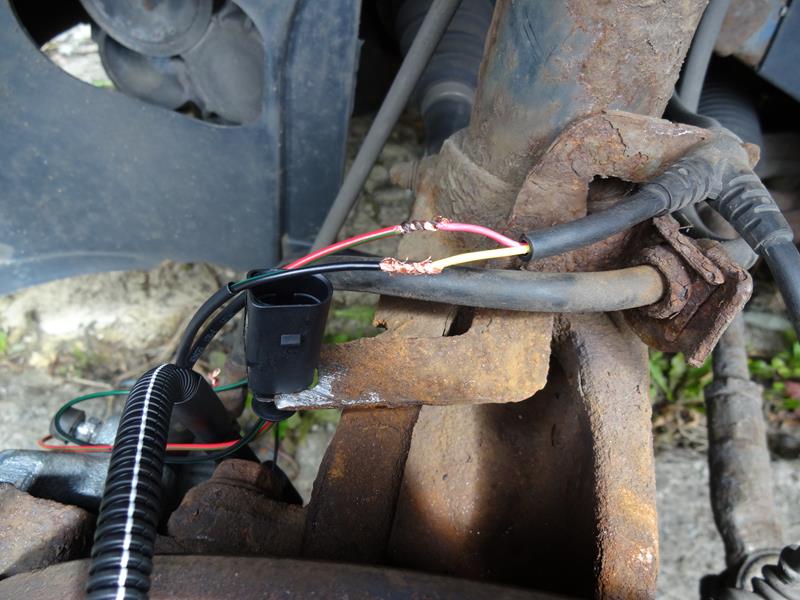
Once you decide what you're going to do, in my case soldering (or not). Strip back the insulation of the wires on both sides and twist them together. I also wasn't sure if it mattered which way around they went. So I basically went with RED > RED, and joined the other colour
I didn't actually use the soldering technique, because the iron I used was either faulty, or crap. If you're going to use it, make sure you get a decent model from somewhere online. I myself have a Weller BP650 EU which I purchased online from Machine Mart. I just didn't use it in this article
Once you have tested to make sure the repair was successful each time and are happy to go ahead. Join the wires together, then use the heatshrink connectors over the top of the wires (or insulation tape) and heat them so it shrinks to size. This will prevent any shorting within the wiring and also help to protect it.
Plus it has the added benefit of making the job look more professional

This was the repaired connector on the car side of the wiring harness. The eagle eyed of you will spot the mistake I made when I wired this up, because I wasn't sure which was which.
For reference, the connector which is in this picture is actually the connector which should be attached to the brake pads. So when it comes to changing my pads and discs again, I will need to cut off this connector and reattach the other one in the correct manner.
For the purposes of this repair however, it worked. The car wasn't bothered and it will suffice for the MOT. After I had finished the repair, I wanted to make it as waterproof as possible. So prior to the repair I did the following.
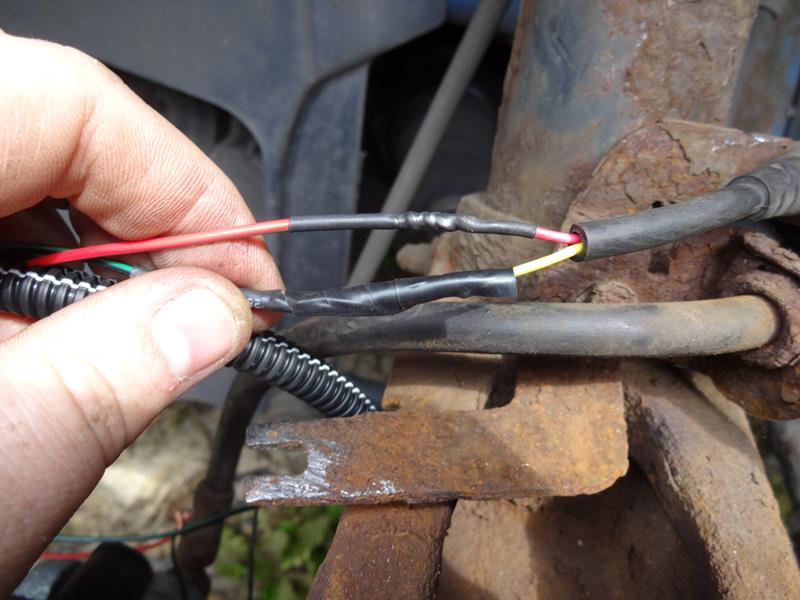
- Run two thin heatshrink tubes over wires
- Run a 2 heatshrink tubes over tubing for ends
Once the repair was carried out, I used insultation tape all along the tube, to minimise the risk of moisture getting within and undoing all my work
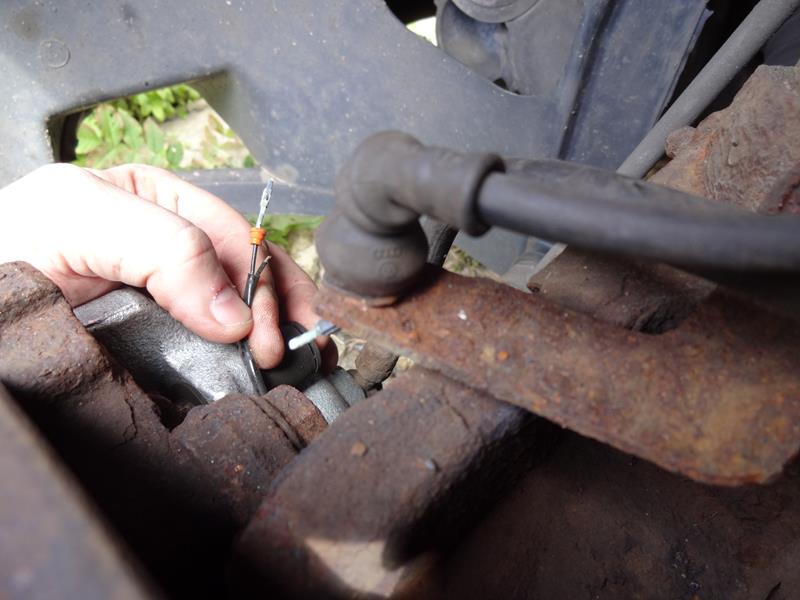
A picture of the repair, the connect has been attached from the first harness, and I had plugged it into the second plug for the brake pads. I temporarily joined the wires and again tested to make sure the warning light went out.
I then proceeded to heatshrink the wires again and tubing after I was happy everything was OK
Once everything was OK, I continued using heatshrink down the tube until the wires were covered for the brake pads too
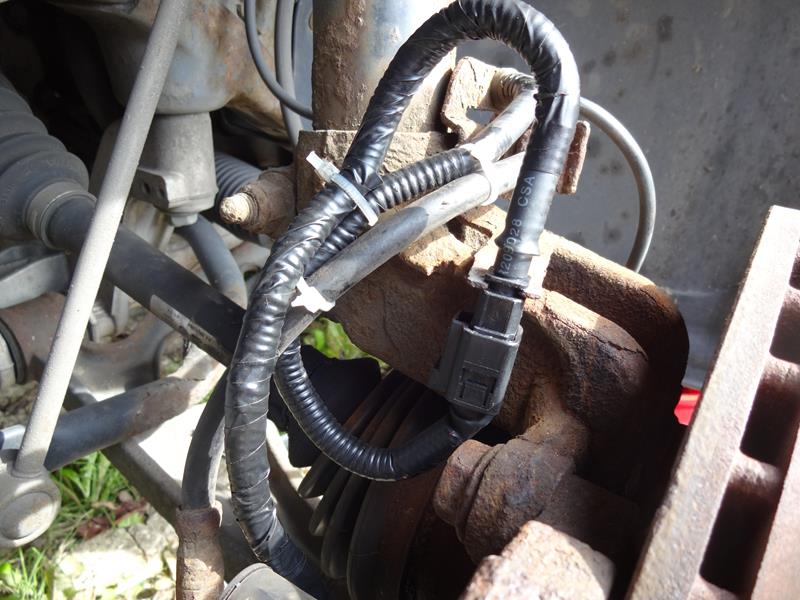
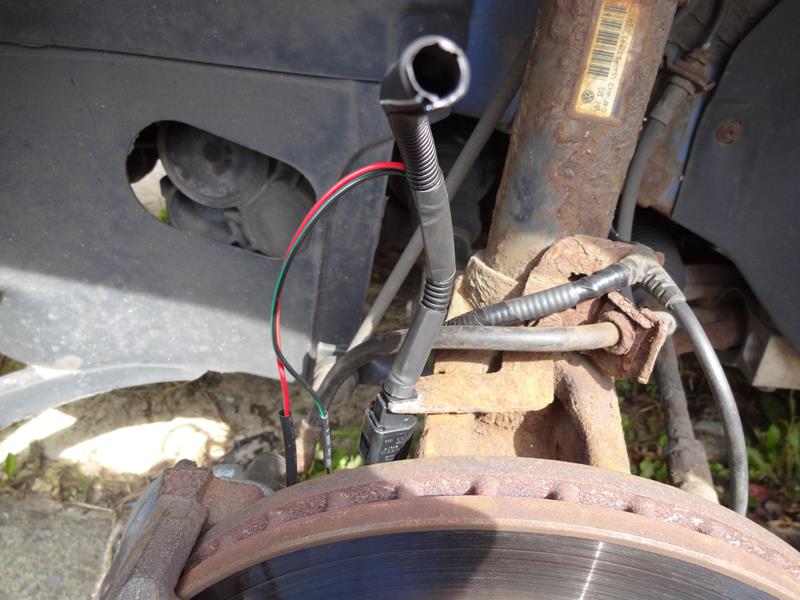
After the entire repair is finished, secure any wires. As I had decided to clean out the slot where the connector plugs into it does slide in and out easier now. This is also counter productive because it could potentially fall out
I fixed this by attaching cable ties to 3 different points on the loom. The connector is nice and secure now.
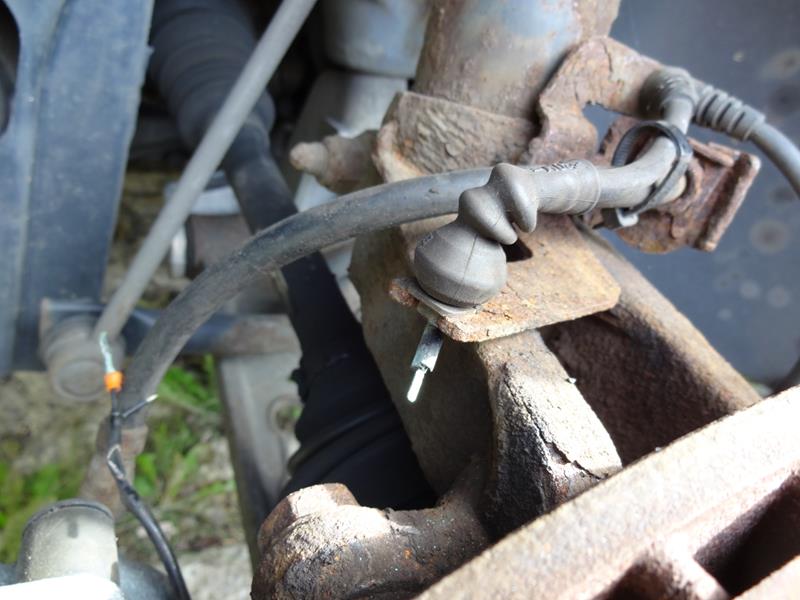
You can't see it from this angle, but there isn't actually much clearance between the Brake Pad Sensor and the caliper bolt. So being able to freely slide the connector out of the holder means it's held in place but easy to detach when replacement required