Woodworking isn’t my primary skill, hell it’s not even a skill I possess. I do however, like to try and do things myself. As a Kinesthetic learner, I learn through doing things myself, and learning through failure. By finding out what didn’t work, I adapt and learn so that I know what to do better the next time.
I thought I’d write this post showing what I did when I made my own Kitchen Drawer out of MDF, what the mistakes were; and also what I plan on doing to make it better for the next version.
SIDENOTE : This is a failure project. I know the drawer doesn’t look good, but it is functional. I will be redoing it again from scratch and improving from my mistakes. I will be updating this article when I’ve made the better more accurate version. The basic principles however will be the same. These are the steps to make your own, I’m not a woodworking teacher, so either use and expert, or try at your own risk and learn yourself.
Tools and supplies to make your own kitchen drawer
- Set Square
- Handsaw
- Drill
- Pencil and Ruler
- Tape measure
- Screwdriver
- 18mm MDF
- Drawer Runners
- Wood Glue
- Dowels
- Screws
Making your own drawers

It’s always a good idea to start with measurements. I measured the drawer insert, and already had the measurements for the sides of the drawer. I then transferred this information to MDF and cut it out. One of the golden rules when it comes to making your own Kitchen drawers, or anything out of woodwork, is “Measure twice, cut once”. You only have one chance to get it right, so if you cut incorrectly then you will pay for the mistakes, or have to fix them later on. I marked up the lines the best I could (I only had a framing square) and then cut them with a handsaw. My preferred method would have been a table saw, or at the very least a circular saw. I dont’ have a work bench however, so just worked with what I had.

When you’re making your own Kitchen drawers, sometimes you have to make do with what you have to work with. I don’t have a workbench, so needed somewhere to drill. What’s safer than drilling on your own leg :o) ? (please don’t, that was a joke don’t hurt yourselves). I was going to mount the flush front with dowels to make it look clean, this didn’t go to plan however due to incorrect measurements, and also the fact my drill battery died.

As you can see in the above picture, the new replacement runners were a lot bigger in size (they’re also more supportive). They can hold up to 45kg in weight, and are soft-closure, so better for the design. The factory ones were a sort of plastic wheel on a frame. I think they’re called “self-closing”, but a search for plastic self closing drawer slide should give you a general idea of what they looked like. Anyway, I decided to fit these. The original ones for whatever reason had a 500mm runner on the left, and a 300mm runner on the right. I’m not sure if this was a cost-saving thing, or some other feature. The space in the cupboard was enough for 500mm on both sides, and I wanted to use the same size on both sides for more support, and to keep it simple.
Also as a note, it’s worth measuring up the drawers and runners so they line up. When I built the drawers, I kept building them upside down, so my measurements kept going in the reverse order. My suggestion would be to start from the bottom of the wood and measure up then don’t deviate. Or at least put “top” and “bottom” on the piece your working with.,

This was the left hand runner, it mounted at the front, but the rear there is a metal bracket, due to the position of the holes, there’s no where to mount this to. So I’ll either need to put on a new bracket, drill some new holes or bodge it. I’m currently thinking about putting in some space MDF or a piece of wood to extend the bracket, and securing the wood to the bracket. This will then give me something to mount it to. In this picture you can see I’m propping it up with a vegetable oil bottle to test with. The hardest part I found was getting these level simply because of the lack of room. If there’s anyone who can offer their advice on this to help out I’d appreciate it. I thought about maybe using a set square flush with the front of the drawer, as this technically should keep it level if the drawer is flat too.
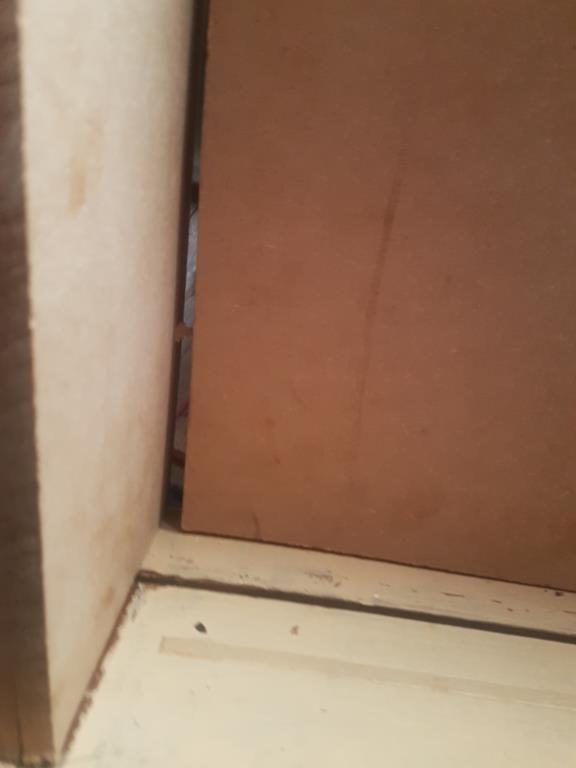
As you can see, after I had assembled the drawer, I had a major alignment issue. I built the measurements using the old drawer measurements and where the wood lined up however I found it was too tight. I also had to reposition the drawer closer inwards otherwise it wouldn’t slide properly. My best guess is that my frame itself was twisted out of alignment, or I hadn’t accounted for the size of the soft-close runners. To correct this, I moved the draw flush with the base again and drilled new holes on the front for mounting. This then made the drawer mountable, but left me with the final result below

This is the finished result of how the drawer looks. The actual frame was square, but because I didn’t drill holes for the front, it wasn’t attached properly and has actually split the wood. That’s why there’s a gap at the front. Never the less, at the moment the drawer opens and closes. So it gives function again to the kitchen until I can build the replacement one for the next version.
I will then post an updated picture, or article as a follow up to this one when the new one is made
What will I do to fix the problem, and make the drawer better the next time?
OK, there are a few problems
- The soft-close runners aren’t attached properly
- The left-hand side soft close runner isn’t supported properly, this is because the original runner was mounted in a different way, and so the screw-holes don’t line up. The first thing I’m going to do is make sure I can mount this correctly as it was causing the drawer to drop on one side, which didn’t help when it comes to closing it.
- Additionally, I’m also going to make sure that the screw-hole centers line up perfectly, and at a fixed distance from each side of the drawer, so I have better measurement points when mounting them and building my own drawer
- The drawer frame also needs to be as level as possible
- Rebuild the frame
- The existing frame must have been twisted, or not truly square. I will be purchasing a set square, and then remeasuring everything exactly how I want it. I will also be cutting with a circular saw, or using some clamps and a straight piece of wood for a guide.
- Measure multiple times
- As I want it perfect this time, I’m going to be measuring and triple checking all my work
- Using the right tools
- I’ll make sure I purchase a set square, and have a drill that’s got a decent charge this time, as it died half way through. Also to prevent the wood splitting, I’ll be drilling the hole for every screw on the frame of it.